How to Clean Sneakers: Restore Your Kicks
The Ultimate Guide to Cleaning Sneakers: Restore Your Kicks to Their Former Glory
Sneakers have transcended their original purpose as athletic footwear to become a staple in everyday fashion. Whether you’re a sneakerhead with a vast collection or someone who relies on a trusty pair for daily wear, keeping your kicks clean is essential. Clean sneakers not only look better but also last longer, saving you money and maintaining your style. This comprehensive guide will walk you through the process of cleaning various types of sneakers, from canvas to leather, and provide expert tips to keep your footwear looking fresh.
Understanding Your Sneakers: Materials Matter
Before diving into the cleaning process, it’s crucial to identify the materials of your sneakers. Different materials require different cleaning approaches to avoid damage and ensure the best results. Canvas sneakers, popular for their lightweight and breathable qualities, can usually withstand more rigorous cleaning methods.
Leather sneakers, prized for their durability and sleek appearance, demand a gentler touch and specific care products. Suede and nubuck, known for their soft texture, are more delicate and require specialized cleaning techniques. Synthetic materials like mesh or knit fabrics often found in athletic shoes have their own care requirements. By understanding the composition of your sneakers, you can tailor your cleaning approach to maximize effectiveness while minimizing the risk of damage.
Gathering Your Cleaning Arsenal: Tools and Products
Assembling the right cleaning tools and products is half the battle in effectively cleaning your sneakers. For most cleaning jobs, you’ll need a soft-bristled brush or an old toothbrush, microfiber cloths, and a gentle cleaning solution. White vinegar, baking soda, and mild dish soap are versatile household items that can tackle many cleaning tasks. For tougher jobs or specialized materials, consider investing in commercial sneaker cleaners designed for specific materials.
Magic erasers can work wonders on rubber soles and midsoles. For leather sneakers, leather cleaner and conditioner are essential for maintaining the material’s integrity. Suede and nubuck benefit from specialized brushes and erasers designed to clean without damaging the delicate nap. Having a selection of clean, soft cloths for applying products and drying is also crucial. By assembling a comprehensive cleaning kit, you’ll be prepared to tackle any sneaker cleaning challenge that comes your way.
Preparing Your Sneakers: The First Steps to a Deeper Clean
Before applying any cleaning solutions, properly preparing your sneakers sets the stage for a successful cleaning session. Start by removing the laces, as these often trap dirt and can be cleaned separately for best results. Use a dry brush or cloth to remove loose dirt and debris from the surface of the sneakers. This initial step prevents scratching the material when you move on to deeper cleaning. For sneakers with removable insoles, take them out to clean and deodorize separately.
This not only allows for a more thorough cleaning of the insoles but also helps the shoes dry faster after cleaning. If dealing with particularly dirty or smelly sneakers, consider stuffing them with newspaper to absorb odors and moisture before proceeding with the cleaning process. These preparatory steps might seem minor, but they significantly enhance the effectiveness of your cleaning efforts and help protect your sneakers from damage during the process.
Tackling Canvas and Fabric Sneakers: From Everyday Dirt to Tough Stains
Canvas and fabric sneakers are often the easiest to clean, thanks to their durable nature. For everyday dirt and light stains, a simple solution of warm water and mild dish soap works wonders. Dip a soft-bristled brush into the solution and gently scrub the surface of the sneakers in a circular motion. Pay extra attention to heavily soiled areas, but avoid applying too much pressure to prevent damaging the fabric. For tougher stains, create a paste using baking soda and water. Apply this paste to the stained areas and let it sit for about 15 minutes before scrubbing and rinsing.
White canvas sneakers benefit from a mixture of equal parts water and white vinegar to tackle yellowing and discoloration. After cleaning, rinse the sneakers thoroughly with clean water to remove all soap residue. Avoid the temptation to toss canvas sneakers in the washing machine, as this can damage the shape and structure of the shoes. Instead, opt for hand cleaning to maintain the integrity of your sneakers. Once clean, stuff the shoes with paper towels or clean rags to absorb moisture and help them retain their shape as they air dry away from direct heat or sunlight.
Leather Sneakers: Preserving Elegance with Proper Care
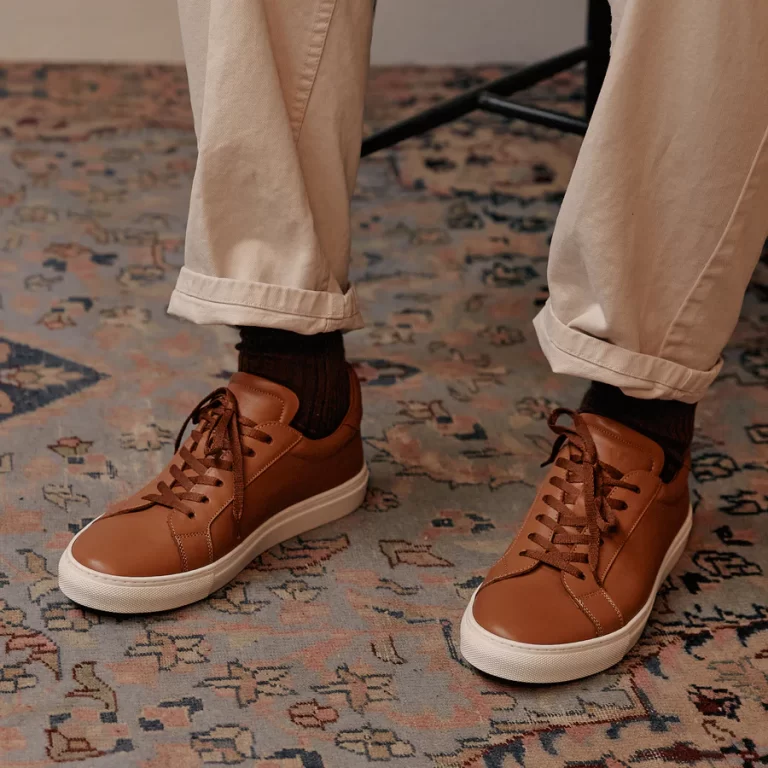
Leather sneakers require a more delicate approach to cleaning to maintain their appearance and longevity. Start by wiping the surface with a damp cloth to remove surface dirt. For more thorough cleaning, use a specialized leather cleaner or a mixture of warm water and a few drops of mild soap. Apply the cleaning solution with a soft cloth, working in small circular motions across the entire surface of the sneaker. Be careful not to saturate the leather, as excess moisture can lead to damage. After cleaning, wipe the sneakers with a clean, damp cloth to remove any soap residue, then dry them with a soft, dry cloth.
Once the sneakers are clean and dry, apply a leather conditioner to keep the material soft and prevent cracking. For scuffs and minor scratches, a leather polish matching the color of your sneakers can work wonders in restoring their appearance. Regular cleaning and conditioning will keep your leather sneakers looking pristine for years to come. Remember, prevention is key with leather – applying a water and stain repellent spray can protect your sneakers from future damage and make cleaning easier.

Suede and Nubuck: Gentle Techniques for Delicate Materials
Suede and nubuck sneakers present a unique challenge due to their delicate nature. These materials require special care to maintain their soft texture and appearance. Start by using a suede brush to gently remove dirt and restore the nap of the material. Brush in one direction to lift dirt and debris without damaging the surface. For light stains, a suede eraser can work wonders – gently rub the eraser over the stained area to lift the mark. For tougher stains, lightly dampen a clean cloth with white vinegar and blot the stain, being careful not to saturate the material.
Once the stain is removed, use the suede brush to restore the nap. For oil-based stains, sprinkle cornstarch or talcum powder over the affected area and let it sit overnight to absorb the oil before brushing it away. Never use water or soap-based cleaners on suede or nubuck, as these can permanently damage the material. Instead, invest in specialized suede cleaner for deeper cleaning needs. After cleaning, apply a suede protector spray to guard against future stains and water damage. With proper care and gentle cleaning techniques, suede and nubuck sneakers can maintain their luxurious look and feel for years.
Tackling Rubber Soles and Midsoles: Restoring the Foundation
The soles and midsoles of sneakers often accumulate the most dirt and can be the trickiest parts to clean. However, restoring these areas can dramatically improve the overall appearance of your sneakers. For rubber soles, a mixture of baking soda and water creates an effective cleaning paste. Apply this paste with an old toothbrush, scrubbing in circular motions to lift dirt and grime. For particularly stubborn marks, a magic eraser can work wonders on rubber surfaces. Midsoles, especially white ones, tend to yellow over time.
To combat this, create a paste using equal parts baking soda and hydrogen peroxide. Apply this mixture to the midsole with a brush, then place the sneakers in direct sunlight for a few hours. The combination of the cleaning paste and UV light helps to whiten and brighten the midsole. For deep-set stains or scuffs on midsoles, acetone or nail polish remover can be effective, but use these sparingly and test on a small area first to ensure they won’t damage the material. After cleaning, wipe down the soles and midsoles with a damp cloth to remove any residue, then dry thoroughly. Regular cleaning of these areas not only improves the appearance of your sneakers but also helps to maintain their grip and performance.

Drying and Finishing Touches: Ensuring Longevity
Proper drying is crucial to maintain the shape and integrity of your freshly cleaned sneakers. Always air dry your sneakers at room temperature, away from direct heat sources like radiators or sunlight, which can cause warping or material damage. Stuff the sneakers with paper towels or clean rags to absorb moisture and help maintain their shape as they dry. Replace the stuffing material as it becomes damp to speed up the drying process. For faster drying, you can use a fan to circulate air around the sneakers, but avoid the temptation to use a hairdryer, as the intense heat can damage certain materials.
Once your sneakers are completely dry, it’s time for the finishing touches. Replace the freshly cleaned laces or consider new laces for an instant refresh. Apply appropriate protectant sprays based on the material of your sneakers to guard against future stains and water damage. For leather sneakers, a final buff with a soft cloth can restore shine. Suede and nubuck benefit from a final brush to restore the nap. These finishing steps not only complete the cleaning process but also help to extend the life of your sneakers, keeping them looking fresh and new for longer.
Maintaining Cleanliness: Prevention and Regular Care
While knowing how to deep clean your sneakers is important, prevention and regular maintenance can significantly reduce the need for intensive cleaning sessions. Establish a routine of quick cleaning after each wear – a simple wipe down with a damp cloth can prevent dirt and stains from setting in. For sneakers worn in wet or muddy conditions, clean them as soon as possible to prevent water damage and stubborn stains. Apply protective sprays appropriate for the material of your sneakers every few weeks to create a barrier against dirt and moisture.
Store your sneakers properly when not in use – use shoe trees to maintain shape, and keep them in a cool, dry place away from direct sunlight to prevent fading and material degradation. For frequently worn sneakers, consider rotating between multiple pairs to allow each pair time to air out between wears, reducing odor buildup and extending their lifespan. By incorporating these preventive measures and regular care habits into your routine, you can keep your sneakers looking fresh with minimal effort and extend the time between deep cleanings. Remember, a little regular maintenance goes a long way in preserving the appearance and longevity of your favorite kicks.


